以前刚学PHP的时候Copy .dll文件(Windows)再写几行配置就能运行,需要编译再安装。买了OS X后半年多了,工作太忙,一直没时间弄xdebug(简直懒得……)做IDE断点。
Windows倒是真的简单,首先要搞清楚你的PHP是TS(Thread Safety)还是NTS(Not Thread Safety),使用phpinfo()查看,搜索“Thread Safety”。
enabled为是,disabled就是否。
接着,打开xdebug官网,选择“download”。 可以看到“PHP 5.4 VC9 TS (64 bit)”和 “PHP 5.4 VC9 (64 bit)”,根据刚刚phpinfo()得到的结果选择TS或没有TS字样的下载。然后扔到ext所指向的目录处即可,然后全篇终。
不过Linux就没那么Easy了,认真看完这篇指南的话,还是非常容易上手的(本来就好简单……README里就有,咦~?)。今天心血来潮,干脆整个傻瓜指南出来。Hohoho…
由于OS X基于Unix的缘故跟很多Linux的Base层面操作极为相似,一下部分是全Linux通用的。
Linux下最喜欢报这样的错误:
[Fri Sep 05 02:05:30.742954 2014] [mpm_prefork:notice] [pid 1422] AH00169: caught SIGTERM, shutting down
Xdebug requires Zend Engine API version 220100525.
The Zend Engine API version 220121212 which is installed, is newer.
Contact Derick Rethans at http://xdebug.org/docs/faq#api for a later version of Xdebug.
大致就是你装的xdebug 不适用于你的PHP,最好的办法还是编译。
不过如果你是通过Yum、apt-get、brew等进行的安装,也全篇终。
首先,下载Source。
cd到source的目录,使用phpize安装。
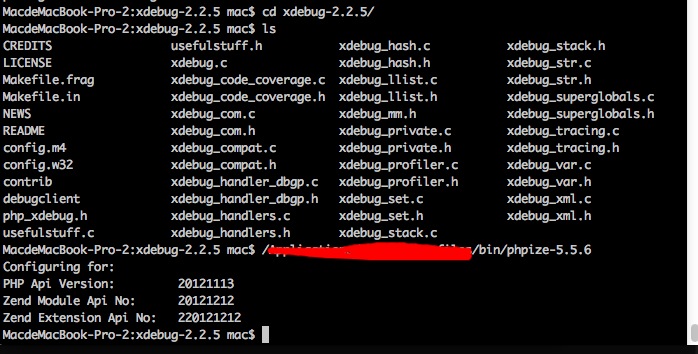
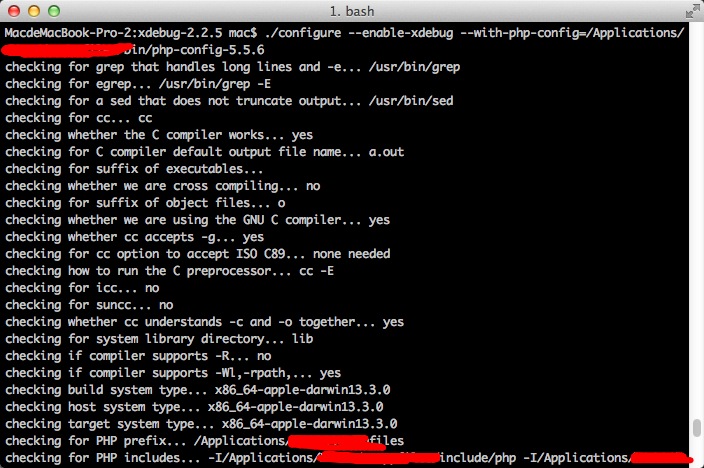
configure它,最好带上php-config的路径(如果你像我一样装了2个PHP的话)。
./configure --enable-xdebug --with-php-config=/Applications/XAMPP/xamppfiles/bin/php-config-5.5.6
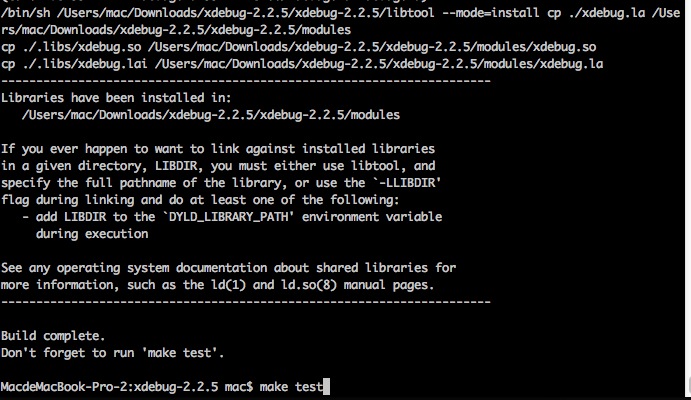
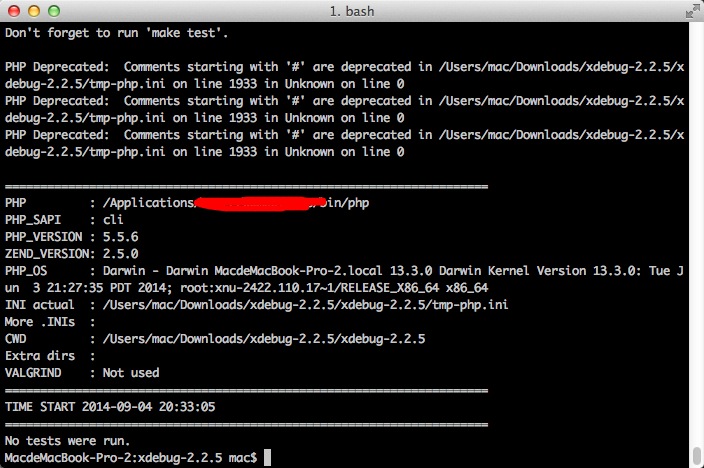
然后将生成好的so文件拷贝到任意目录都可以。

然后配置你的php.ini,指定so文件路径。然后修改 localhost 为 127.0.0.1,ide key修改为你的IDE或firephp等插件的同key即可。
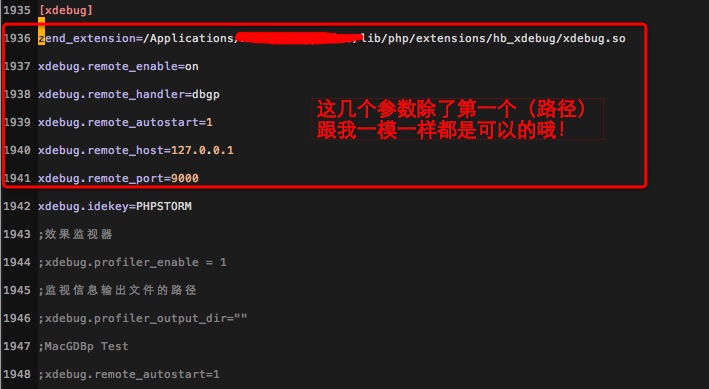
重启apache,立刻见效.

发表回复